There’s nothing quite like the creamy sweetness of Christmas fudge recipe to bring joy and nostalgia to your holiday season. This festive dessert, with its melt-in-your-mouth texture and endless flavor combinations, has become a staple treat for celebrations around the world. Whether you’re gifting it to loved ones, adding it to your holiday dessert table, or simply indulging in a moment of sweetness, fudge is the quintessential Christmas treat.
To help you make the best Christmas fudge, this comprehensive guide covers everything from essential ingredients to step-by-step instructions, variations, and tips for success.
Table of Contents
Why Is Christmas Fudge a Holiday Tradition?
Fudge has a special place in Christmas traditions, thanks to its versatility and indulgent taste. Its origins date back to the late 19th century when confectioners discovered the technique of boiling sugar, butter, and milk to create a soft, rich treat. Over time, fudge became a holiday favorite because it:
- Is Easy to Make: With just a few ingredients and tools, you can create a batch in under an hour.
- Stores Well: Fudge can last for weeks, making it perfect for gifting or preparing in advance.
- Offers Customization: From flavors to toppings, fudge allows for endless creativity.
Essential Ingredients for Christmas Fudge
Making Christmas fudge starts with a few staple ingredients that ensure the right flavor and texture:
- Sugar: Granulated or brown sugar provides sweetness and structure. Brown sugar can add a slight caramel flavor.
- Dairy: Sweetened condensed milk or evaporated milk gives fudge its creamy consistency. Vegan alternatives like coconut milk can be used for dairy-free versions.
- Butter: Adds richness and smooth texture. Salted or unsalted butter works depending on your taste.
- Chocolate: Use high-quality chocolate (dark, milk, or white) for the best flavor. Chips, bars, or baking chocolate all work well.
- Flavor Enhancers:
- Vanilla extract: Enhances sweetness and depth.
- Peppermint extract: Perfect for a festive touch.
- Add-ins and Toppings:
- Nuts: Pecans, walnuts, or almonds for a crunchy texture.
- Candy canes: Crushed for a festive garnish.
- Sprinkles: Holiday-themed colors add visual appeal.
Tools Needed for Making Christmas Fudge
To ensure your fudge-making experience is smooth and successful, gather these essential tools:
- Saucepan: For heating and combining ingredients.
- Candy Thermometer: Critical for monitoring the correct temperature (soft-ball stage, 234°F).
- Mixing Utensil: A heat-resistant spatula works best.
- Baking Pan: Use an 8×8-inch pan for a standard batch.
- Parchment Paper: Prevents sticking and makes cleanup easy.
Step-by-Step Guide to Making Classic Christmas Fudge
Follow these detailed steps to craft a flawless batch of Christmas fudge:
Prepare Your Workspace
- Line the baking pan with parchment paper, ensuring it extends over the edges for easy removal.
- Measure and organize all ingredients to streamline the process.
Cook the Base Mixture
- Combine sugar, butter, and condensed milk in a heavy-bottomed saucepan.
- Heat over medium heat, stirring continuously to prevent burning.
- Once the mixture begins to boil, attach your candy thermometer and monitor until it reaches 234°F (soft-ball stage).
Add Chocolate and Flavorings
- Remove the pan from heat. Immediately add chocolate chips, vanilla extract, and any additional flavorings.
- Stir vigorously until the mixture is smooth and glossy.
Decorate
- Pour the fudge mixture into the prepared baking pan, spreading it evenly with a spatula.
- Add toppings like crushed candy canes, nuts, or sprinkles while the fudge is still warm.
Set and Slice
- Let the fudge cool at room temperature for 1-2 hours before transferring it to the refrigerator to set completely.
- Once firm, lift the fudge out using the parchment paper and cut it into squares with a sharp knife.
Creative Variations of Christmas Fudge
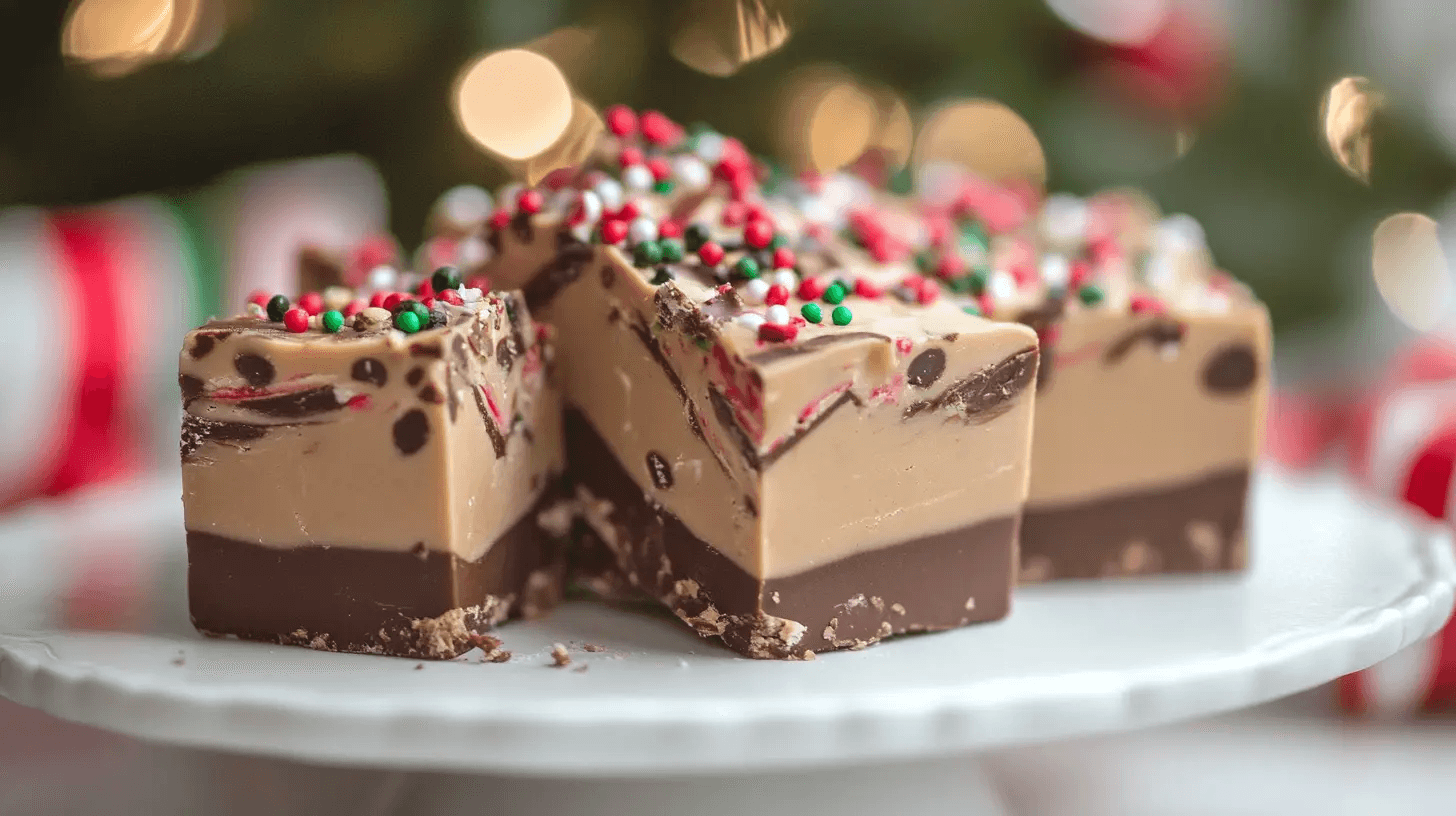
1. Peppermint Bark Fudge
- Layer dark chocolate fudge with white chocolate flavored with peppermint extract.
- Top with crushed candy canes for a festive touch.
2. Peanut Butter Chocolate Fudge
- Swirl peanut butter into a classic chocolate fudge base.
- Add chopped peanuts for extra crunch.
3. Layered White and Dark Chocolate Fudge
- Alternate layers of dark and white chocolate for a visually stunning dessert.
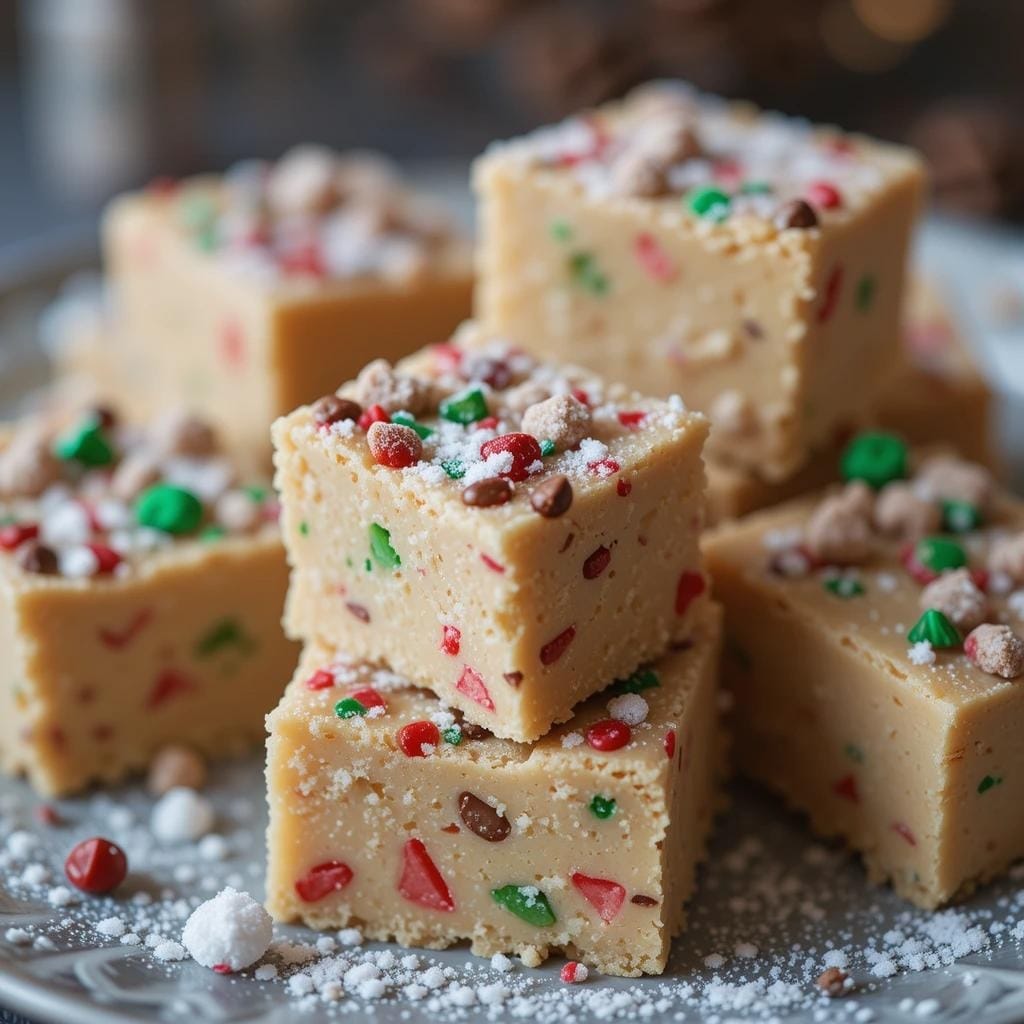
4. Festive Swirl Fudge
- Use red and green food coloring to create swirls in vanilla fudge.
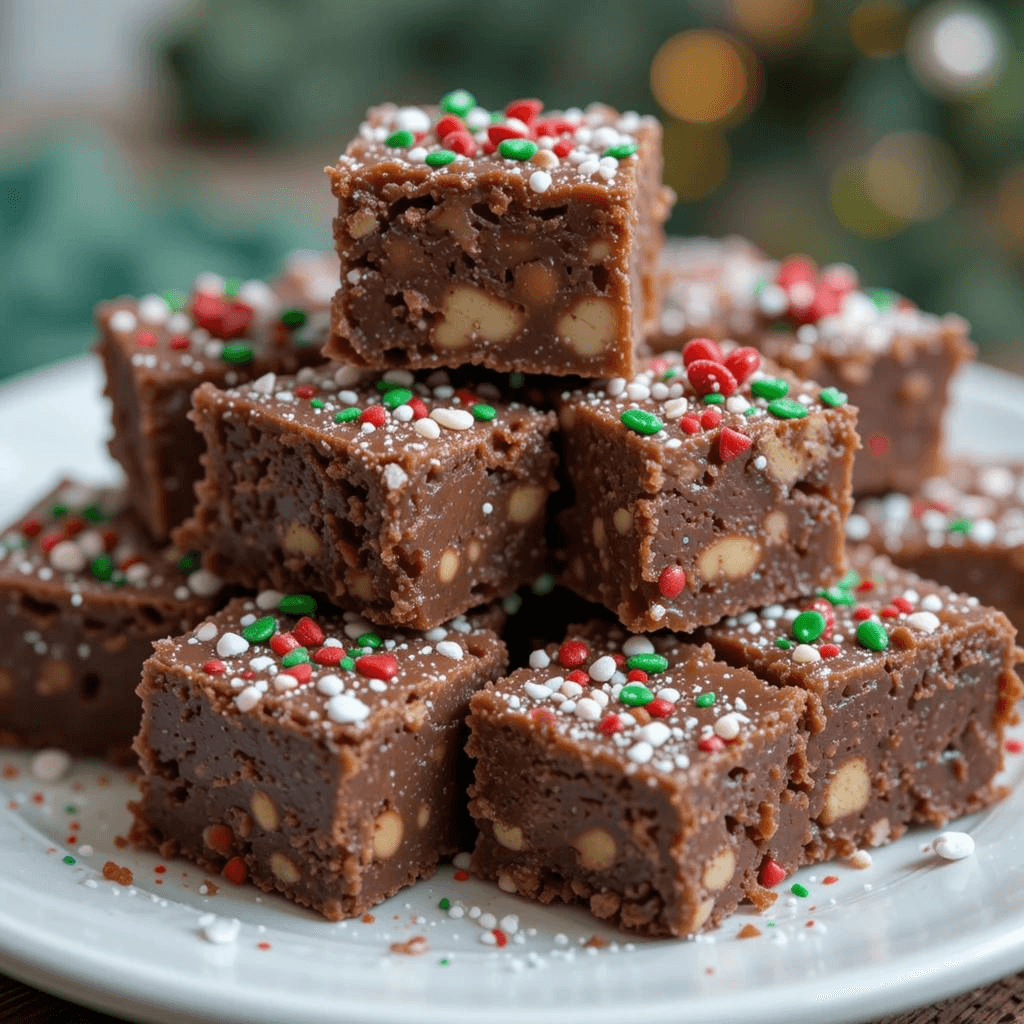
5. Nut Lover’s Fudge
- Add a mix of pecans, walnuts, and almonds for a nutty twist.
6. Spiced Eggnog Fudge
- Incorporate eggnog and nutmeg for a holiday-inspired flavor.
Common Mistakes to Avoid
Avoid these pitfalls to ensure your Christmas fudge turns out perfectly:
- Skipping the Candy Thermometer: Precise temperature control is essential for the right consistency.
- Over-Stirring: Stir only until combined to avoid introducing air bubbles.
- Rushing the Cooling Process: Allow fudge to cool at room temperature before refrigerating to prevent cracking.
- Using Low-Quality Ingredients: Premium chocolate and dairy make a noticeable difference.
How to Store and Preserve Christmas Fudge
Room Temperature
- Store fudge in an airtight container for up to 2 weeks.
- Keep it away from heat and sunlight.
Refrigeration
- Place fudge in a sealed container in the fridge for up to a month.
Freezing
- Wrap individual fudge pieces in wax paper, then store in a freezer bag for up to 3 months.
- Thaw in the refrigerator before serving.
Serving Suggestions
Elevate your Christmas fudge with these serving ideas:
- Dessert Platters: Arrange fudge alongside cookies, truffles, and other festive treats.
- Pair with Beverages: Serve fudge with hot cocoa, coffee, or mulled wine.
- Gift Packaging: Wrap fudge in decorative boxes or bags tied with ribbon for a thoughtful gift.
FAQs
What is the secret to good fudge?
The secret to good fudge lies in precision and quality ingredients. Properly cooking the sugar mixture to the soft-ball stage (234°F) ensures the ideal texture. Using a candy thermometer eliminates guesswork. Stirring consistently but not overmixing is crucial to avoid graininess. Additionally, high-quality chocolate, butter, and flavorings make a noticeable difference in the final taste and texture.
Is it better to use condensed milk or evaporated milk for fudge?
Sweetened condensed milk is generally preferred for fudge because it adds sweetness and a creamy texture. It combines well with chocolate to create a smooth, rich consistency. Evaporated milk, which is unsweetened, can be used in recipes that call for sugar as a separate ingredient, but it may require additional steps and monitoring for the right balance.
How long does Christmas fudge last?
When stored properly, Christmas fudge can last:
- At room temperature: Up to 2 weeks in an airtight container.
- In the refrigerator: Up to 1 month, wrapped tightly to avoid moisture absorption.
- In the freezer: Up to 3 months. Wrap fudge pieces individually and place them in a freezer-safe container. Thaw in the refrigerator before serving for the best texture.
Can I use marshmallows instead of fluff for fudge?
Yes, you can substitute marshmallows for marshmallow fluff in fudge recipes. Use approximately 10 regular marshmallows or 1 cup of mini marshmallows for every 1 cup of fluff. Melt them with the other ingredients, stirring until fully combined. Keep in mind that marshmallows may create a slightly firmer texture compared to fluff.
Conclusion
Making Christmas fudge is a delightful way to celebrate the holidays and share the joy of homemade treats with loved ones. With its rich, creamy texture and endless customization options, fudge is a dessert that truly embodies the spirit of Christmas. Whether you stick to classic recipes or experiment with creative variations, your fudge is sure to be a hit this holiday season.
For additional quick meal ideas, you can also check out Healthy 20-Minute Dinners, which offers more simple and delicious recipes to help you eat healthily even on the busiest of days.
So, gather your ingredients, follow these steps, and let the holiday magic begin!
1 thought on “How to Make the Perfect Christmas Fudge Recipe: A Step-by-Step Guide”